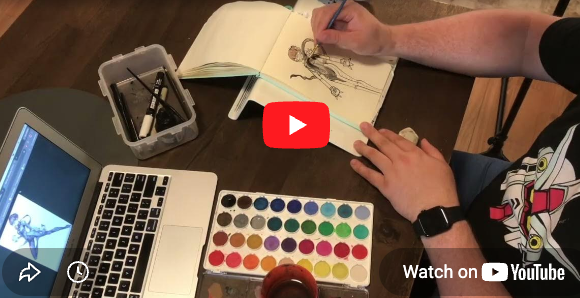
It’s fun to record art time lapses!
One who watches my art videos over on YouTube asked me if I could make a process video about editing those art videos, and I thought that’d be a fun video post! I ALSO thought it would be good to document over here on the blog.
What I use to record and edit my videos:
- A microphone boom stand with a soft mic clip
- A mini camera tripod
- A phone clip tripod converter
- A smartphone (I use an iphone)
- Final Cut Pro
- An audio interface with decent dynamic mic
My Process:
- Get the table set up with all the needed art supplies and a laptop for reference imaging
- Set the microphone stand up at a 90 degree angle over my right shoulder (pictured in the video above!)
- Record video clips at 1080p (because I don’t have a lot of extra phone storage, only record when I’m actually making marks, don’t record dry time)
- Air drop the files onto the mac
- Open up final cut pro and stitch the files together
- Time lapse it so the whole thing is viewable in under 2 mins
- that’s it
It’s really that simple. So if you’ve ever wanted to make your own art time lapse videos, or really, video anything that is happening on a table, give this a go! I actually use this exact same set up as a document camera, streaming to an apple TV plugged into the TV or a projector all the time. The app I use is called ‘true visage’, it’s an iphone app that shows the camera but without any markings overlayed!
Thanks for reading. Don’t forget to follow me on YouTube for lots of video stuff!